Showing posts with label OPI Barefoot in Barcelona. Show all posts

Wednesday, 4 April 2012

Cadbury Mini Eggs Manicure

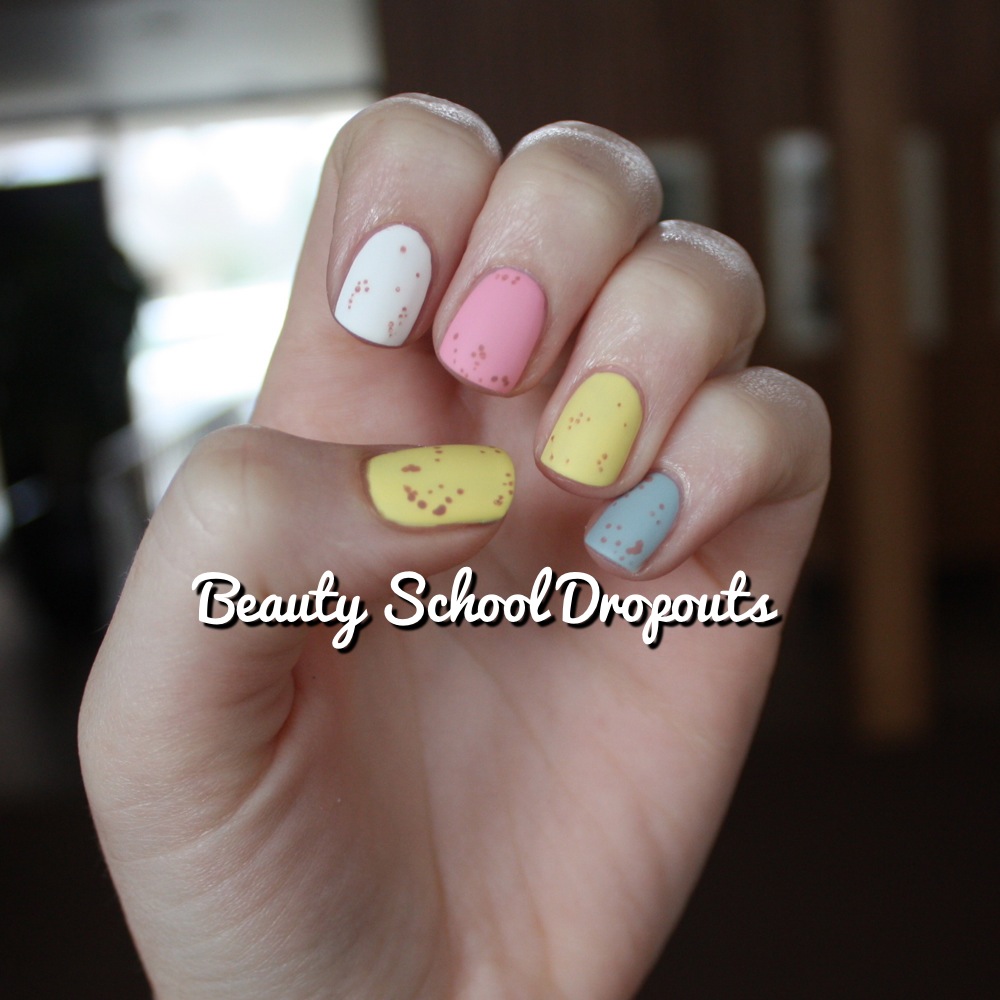
Well, it's that time of year again! Spring/Easter is one of my favourite times of the year. A long weekend, (sometimes) sunny weather, and food and drink with friends & family. Another fun bonus of this time of year is...Easter chocolate. Yup, you know what I'm talking about. So many people I know are Cadbury Mini Eggs fiends. In honour of them, I decided to do a fun Cadbury Mini Eggs inspired manicure. It's quite simple, pretty cute, and also embraces the fashion world's emphasis on pastels for Spring/Summer 2012.


For the pale pink, yellow, blue, and white colours of the tasty little eggs, I used (from left of photo) OPI's Pink Friday, Sinful Color's Unicorn, L'Oreal's High Tide, and Pure Ice's Super Star. For the little beigey-rust-coloured speckles on the eggs, I used OPI's Barefoot in Barcelona.


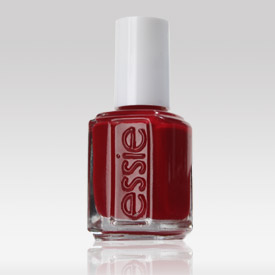
Also, key to this manicure, I finished it off with a matte top coat. Gotta recreate the chalky appearance of  those little eggs! I used Essie's Matte About You.


Check out how it turned out...yum!


Pin It

Thursday, 22 December 2011

More Holiday Manicures!

This week, I had the pleasure of getting together with some old friends Maddie and Sophie to get down to some serious holiday nail business. Plus, it was so great to be able to catch up and chat during the manicures. Sophie wanted something wintery and cute and opted for a full snowflake manicure similar to the one I did a little while ago. We used the awesome Sapphire (Designer series) by OPI and then I added some hand-painted white snowflakes. It ended up looking adorable! (This holographic polish is so difficult to photograph! You've gotta see it in person to experience its beauty).

Maddie asked for something feminine but also holiday-inspired so I gift-wrapped her nails! We chose the OPI Designer..de Better from the Muppet line (that I used and reviewed here) for the base and, of course, my favourite red - OPI's Red My Fortune Cookie for the accents and the bow.

This one really looked great. Perfect for this time of year! Good choices, ladies!

Last night, I had a girlie Christmas party to go to so I decided to do a last minute manicure before I stepped out (the best accessory). I thought I would try the Born to Die manicure in different colours. This time, I decided to use a colour as the background instead of leaving the nails bare, so I thought I would use something neutral. I opted for OPI's Barefoot in Barcelona as the base.
For the tips, I chose China Glaze's Icicle and the same Nicole by OPI gold glitter (Twist of Fate) that I used for the original Born to Die manicure.

This is how it turned out:

I like this colour combo - still fancy and party-ready like the original, but slightly less eye-popping. Anyway, must go - gotta get back to wrapping!

Happy Holidays :) Pin It

Sunday, 13 November 2011

Roses and Polka Dot Mani

It's official! I absolutely love doing rose manicures. They are super easy to do and end up looking adorable and feminine. I have tried this mani before on my little sister using pastels and a bright pale blue as the background. It ended up looking really cute and bright but I wanted to give this mani a little bit of a mature twist. So, for this one, I used OPI's Barefoot in Barcelona as the base because I was looking for something pretty and soft but a little more neutral. This way, the roses would pop and remain the focus of the mani.

I did tiny black polka dots in the background to create more of a pattern and I think it turned out looking really pretty with the roses on top. For the two-tone roses, I used Essie's Fishnet Stockings and Revlon's Coral Me Wild.
I can't seem to find a good photo of Coral Me Wild but I highly recommend it. It is the perfect bright orangey-pink without being a matte neon (but almost neon - so much fun!). I used my go-to leaf colour (OPI's Jade is the New Black) and finished off with accents using the black skinny brush polish I mentioned here.

I really like how this look turned out and I can't wait to experiment with different coloured roses!
Pin It